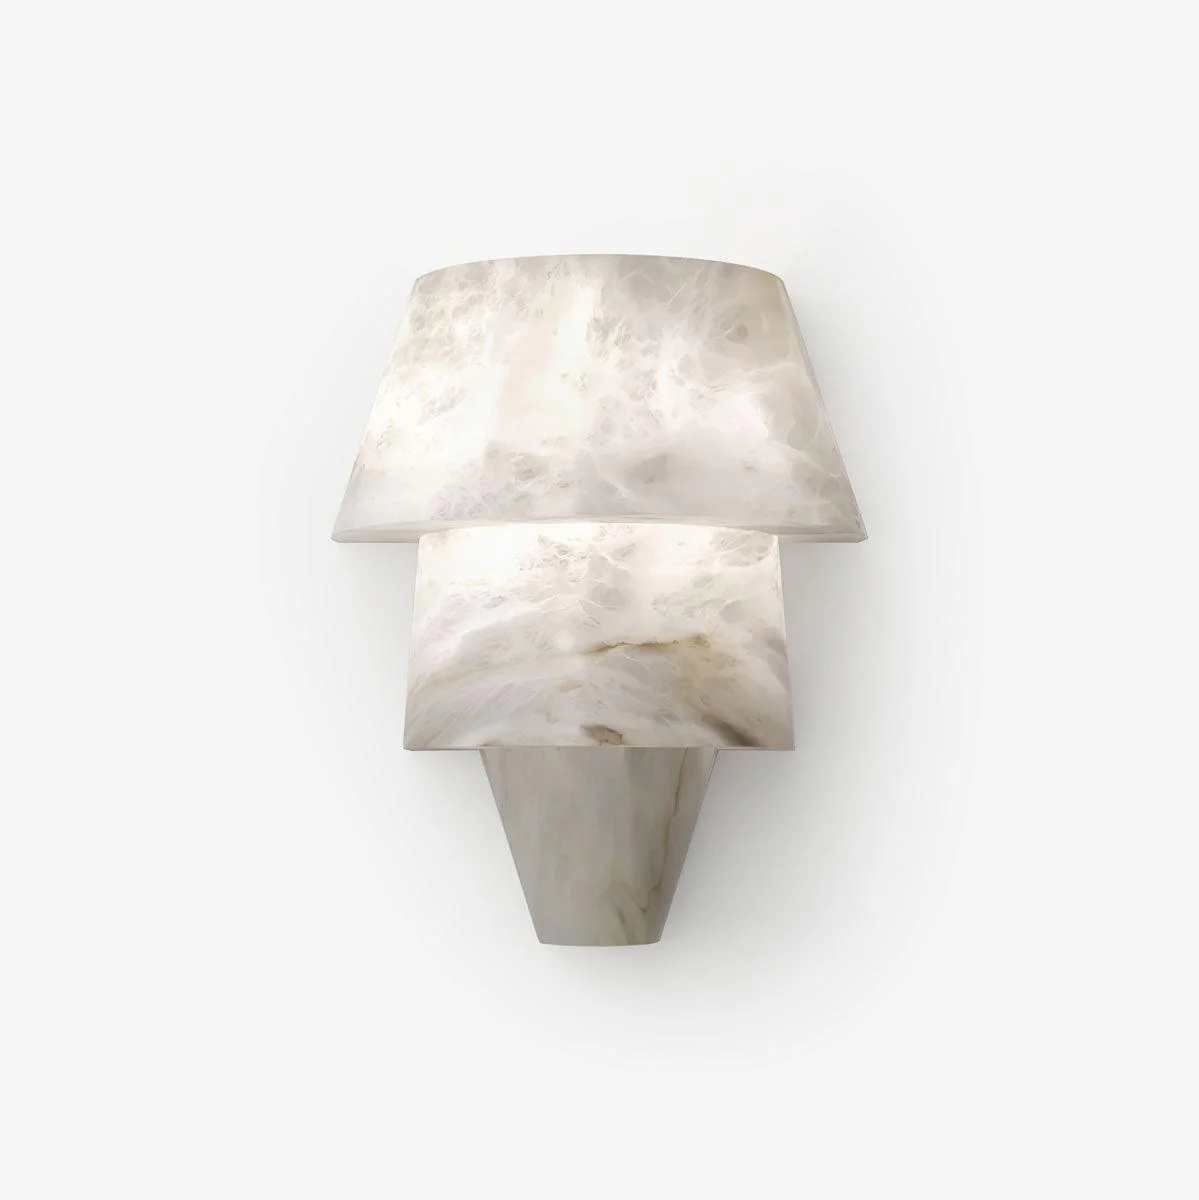
Laboratory Alabaster Wall Light
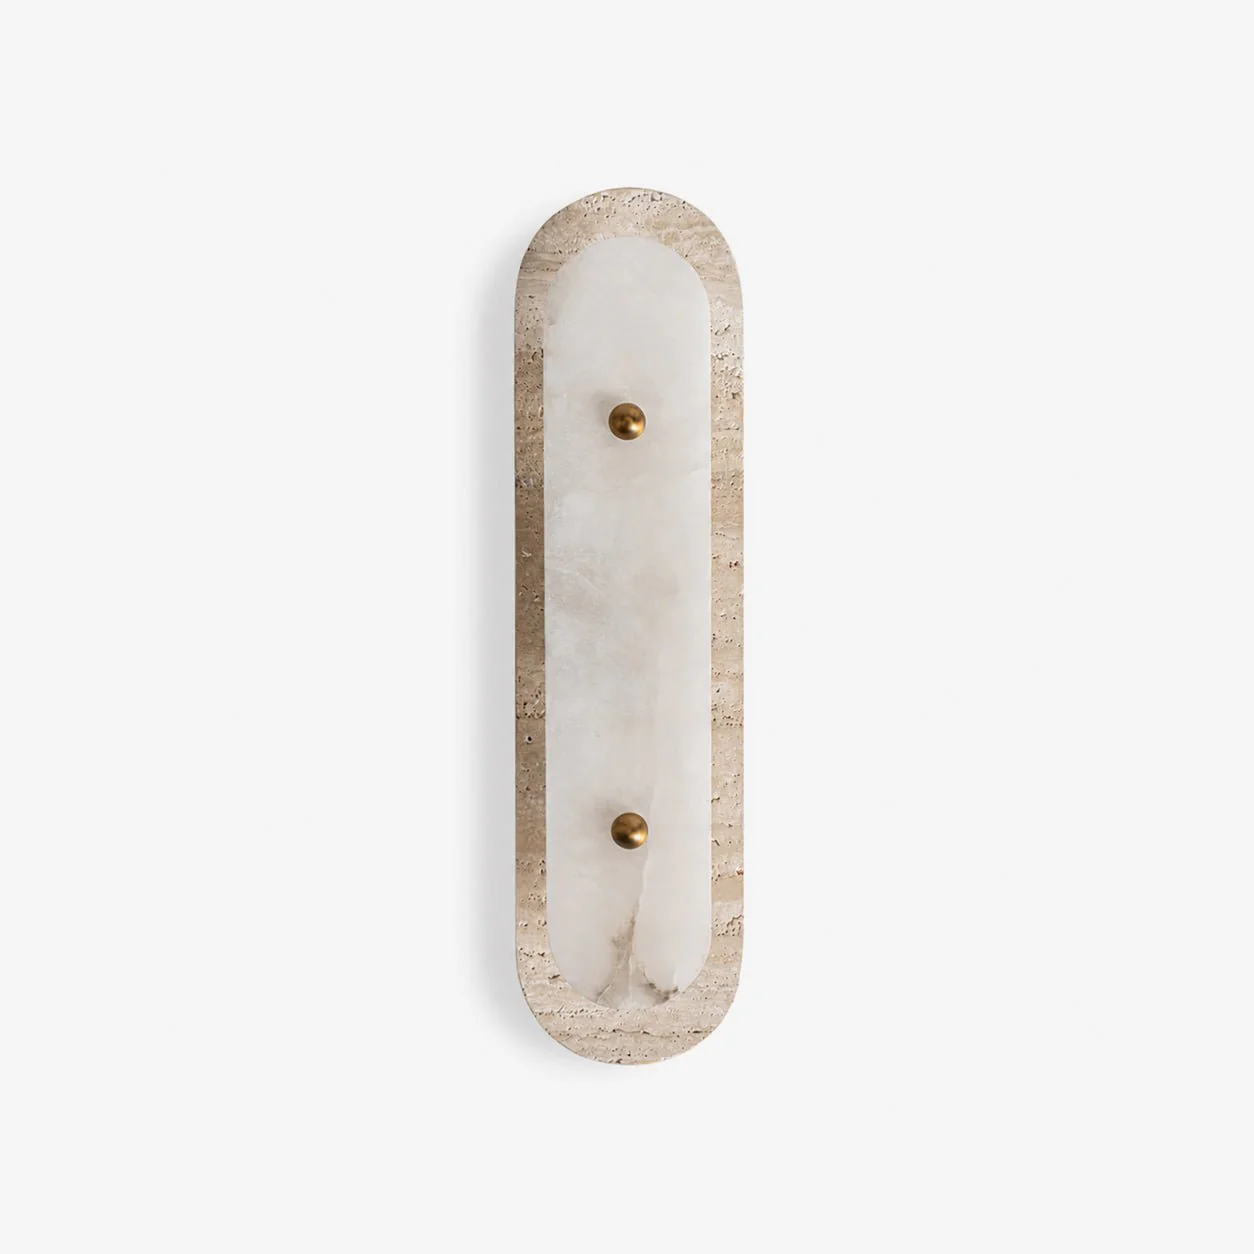
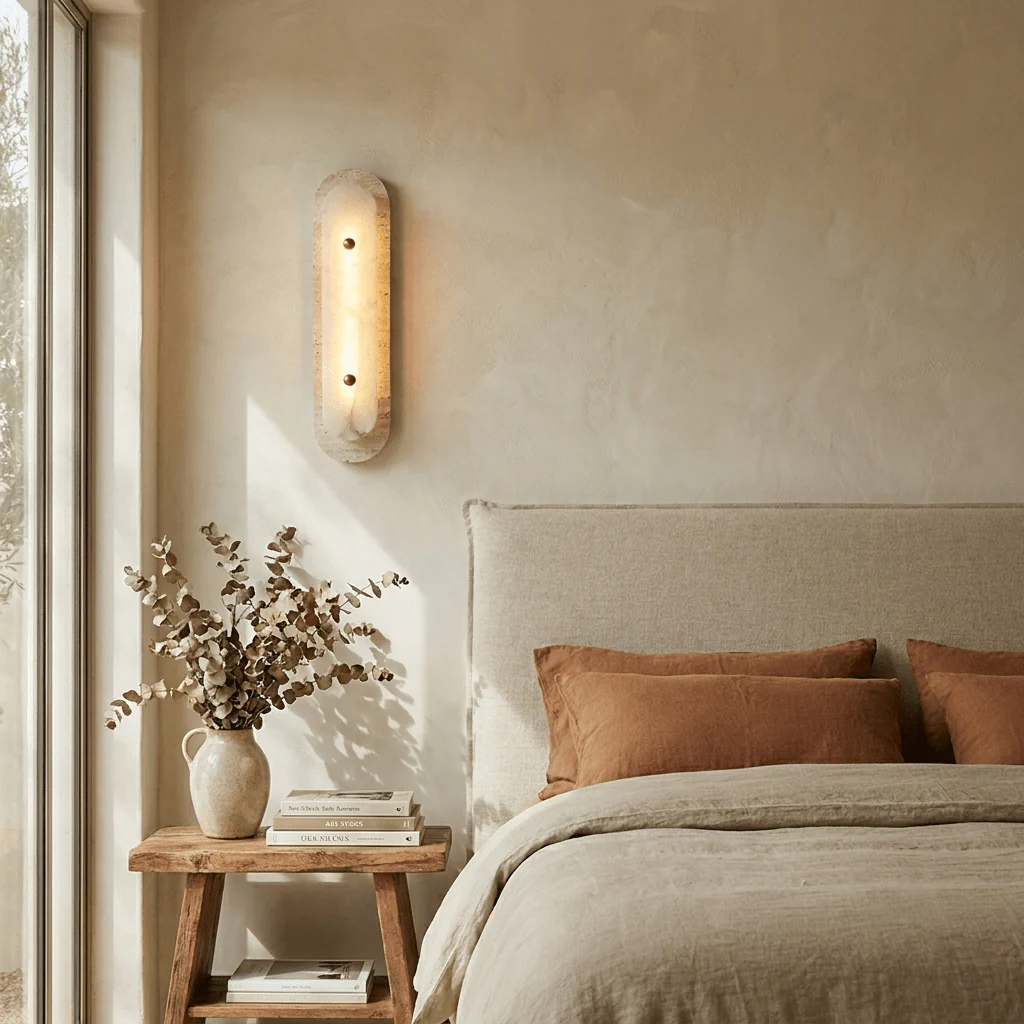
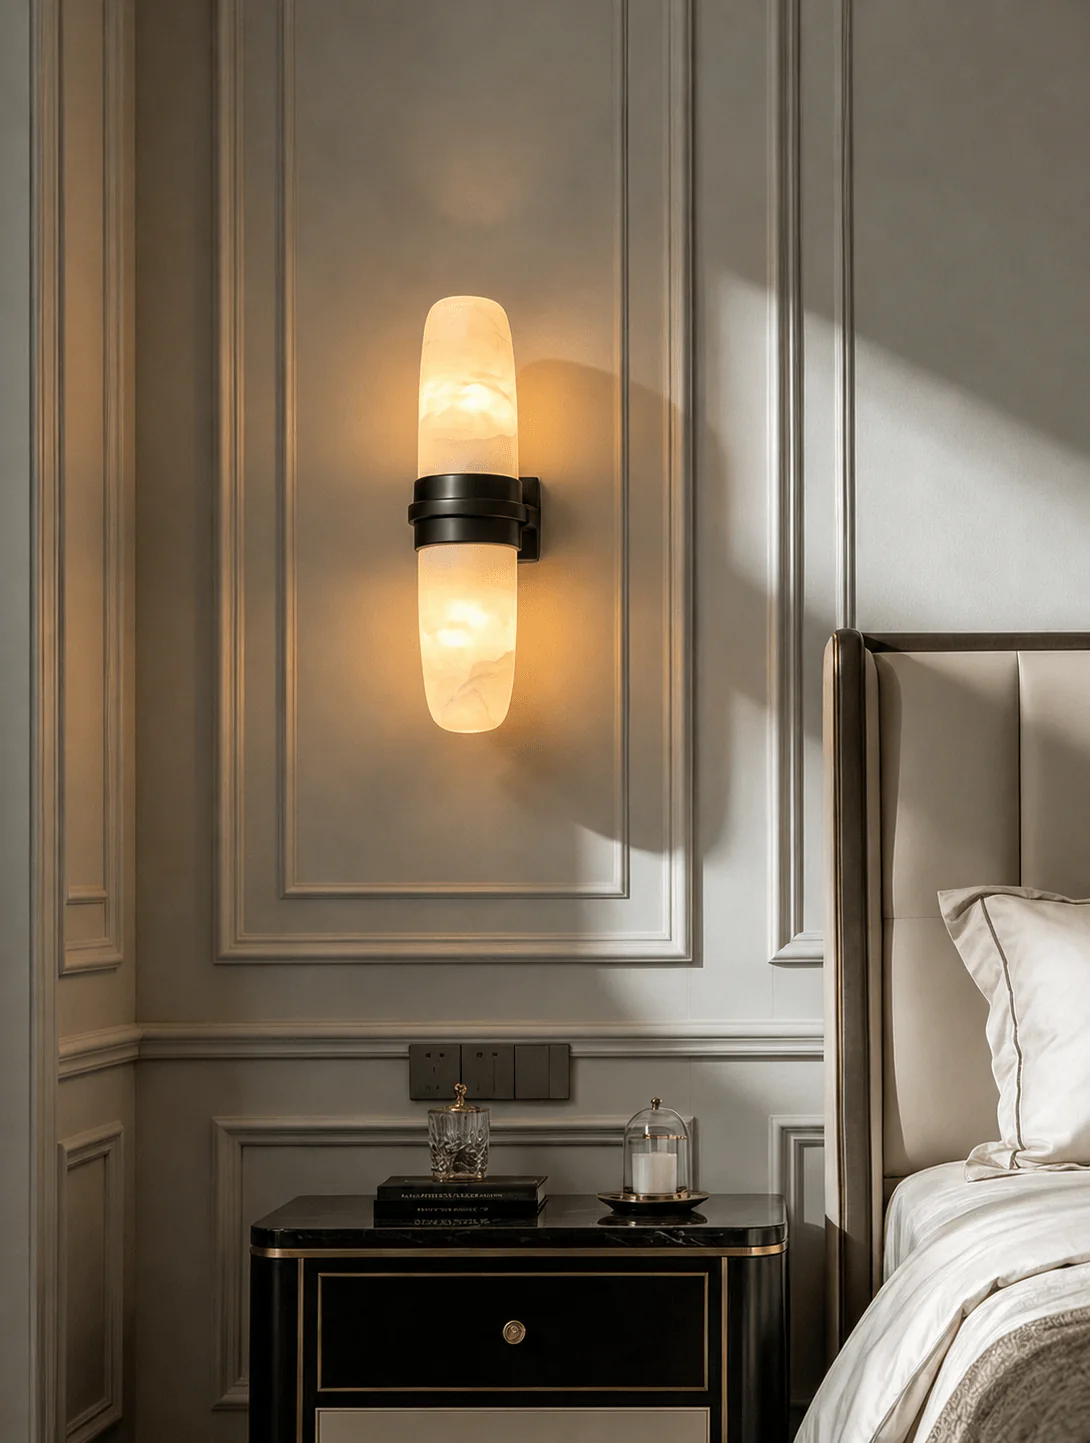
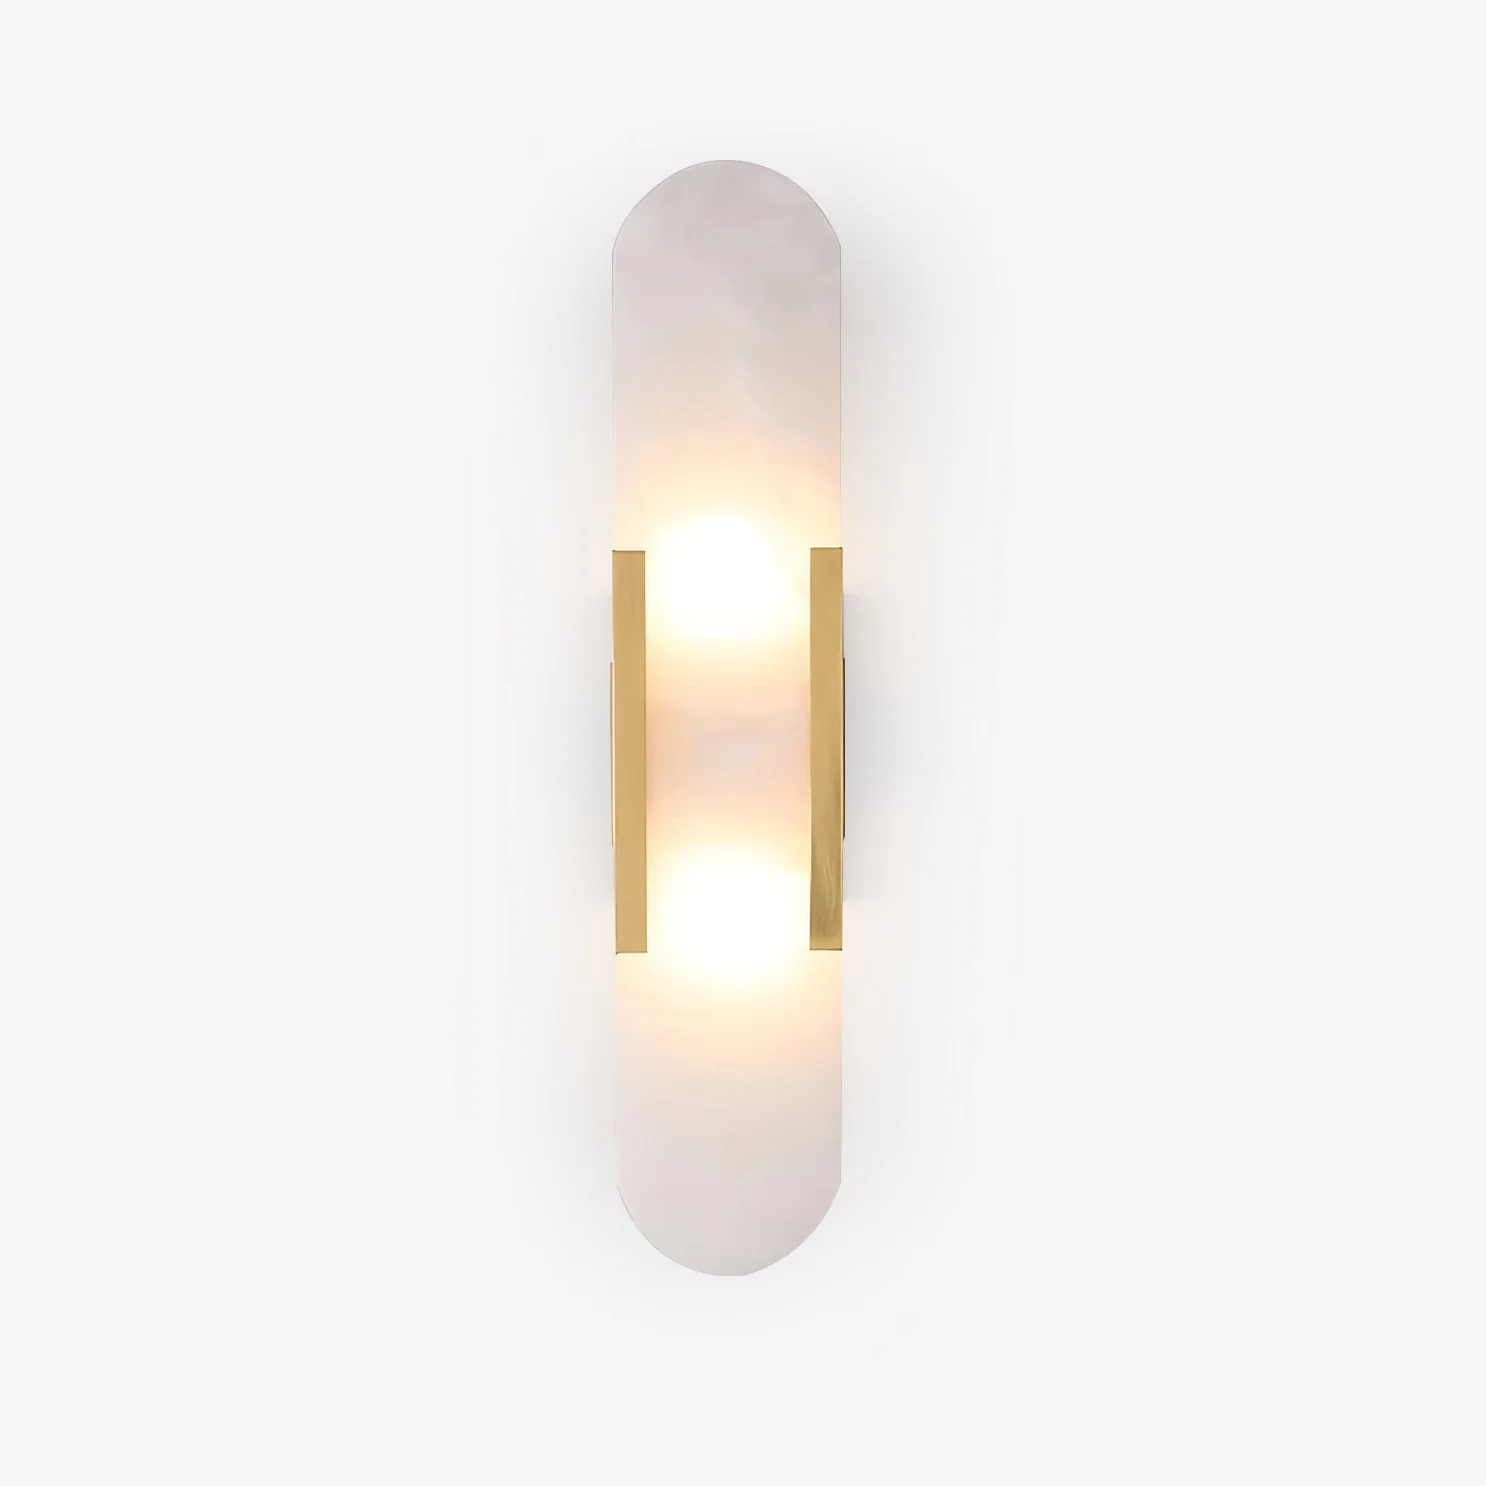
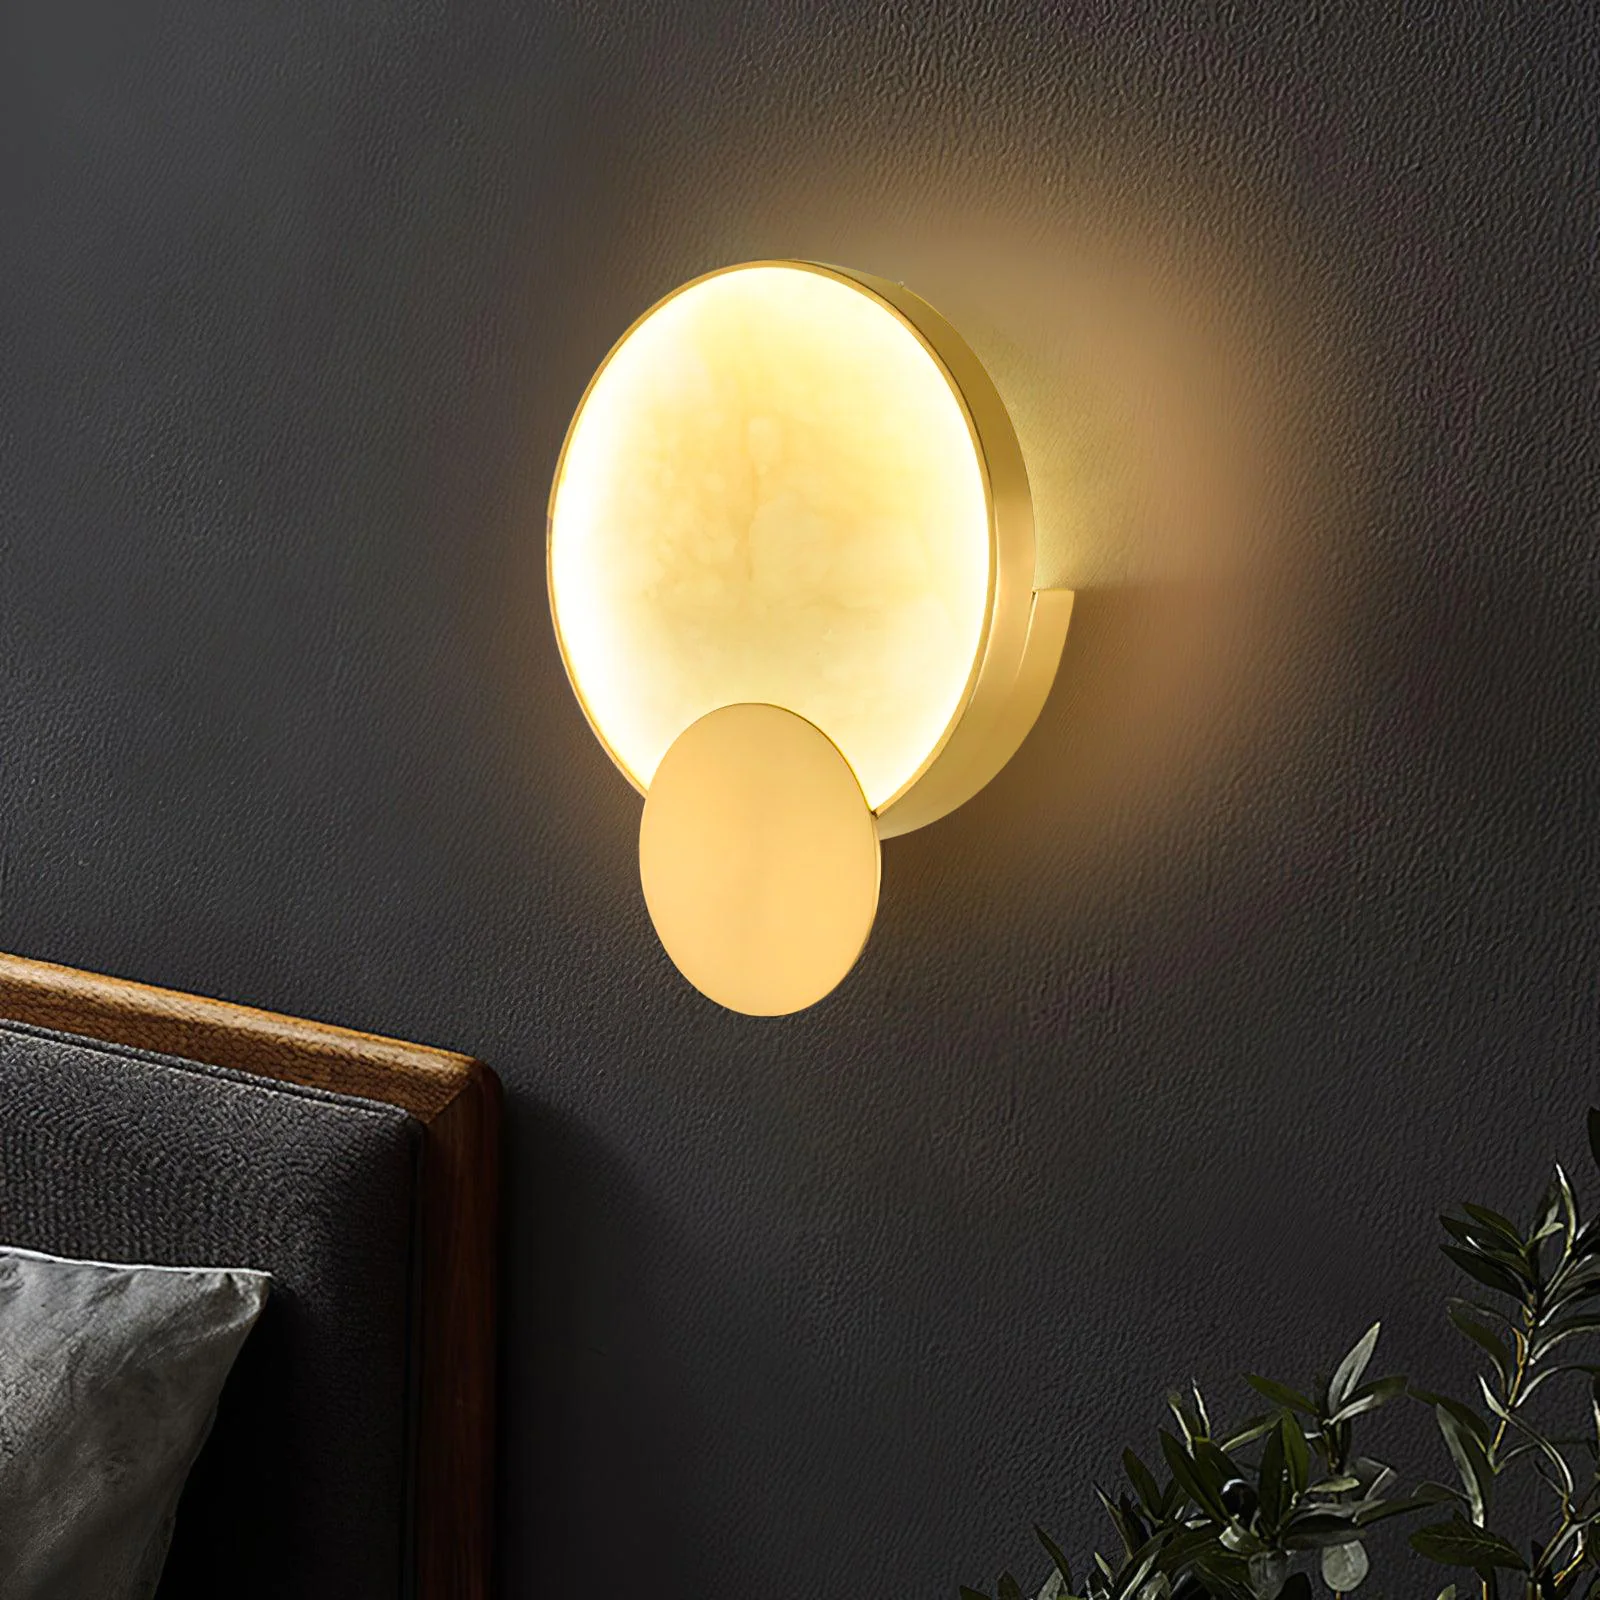
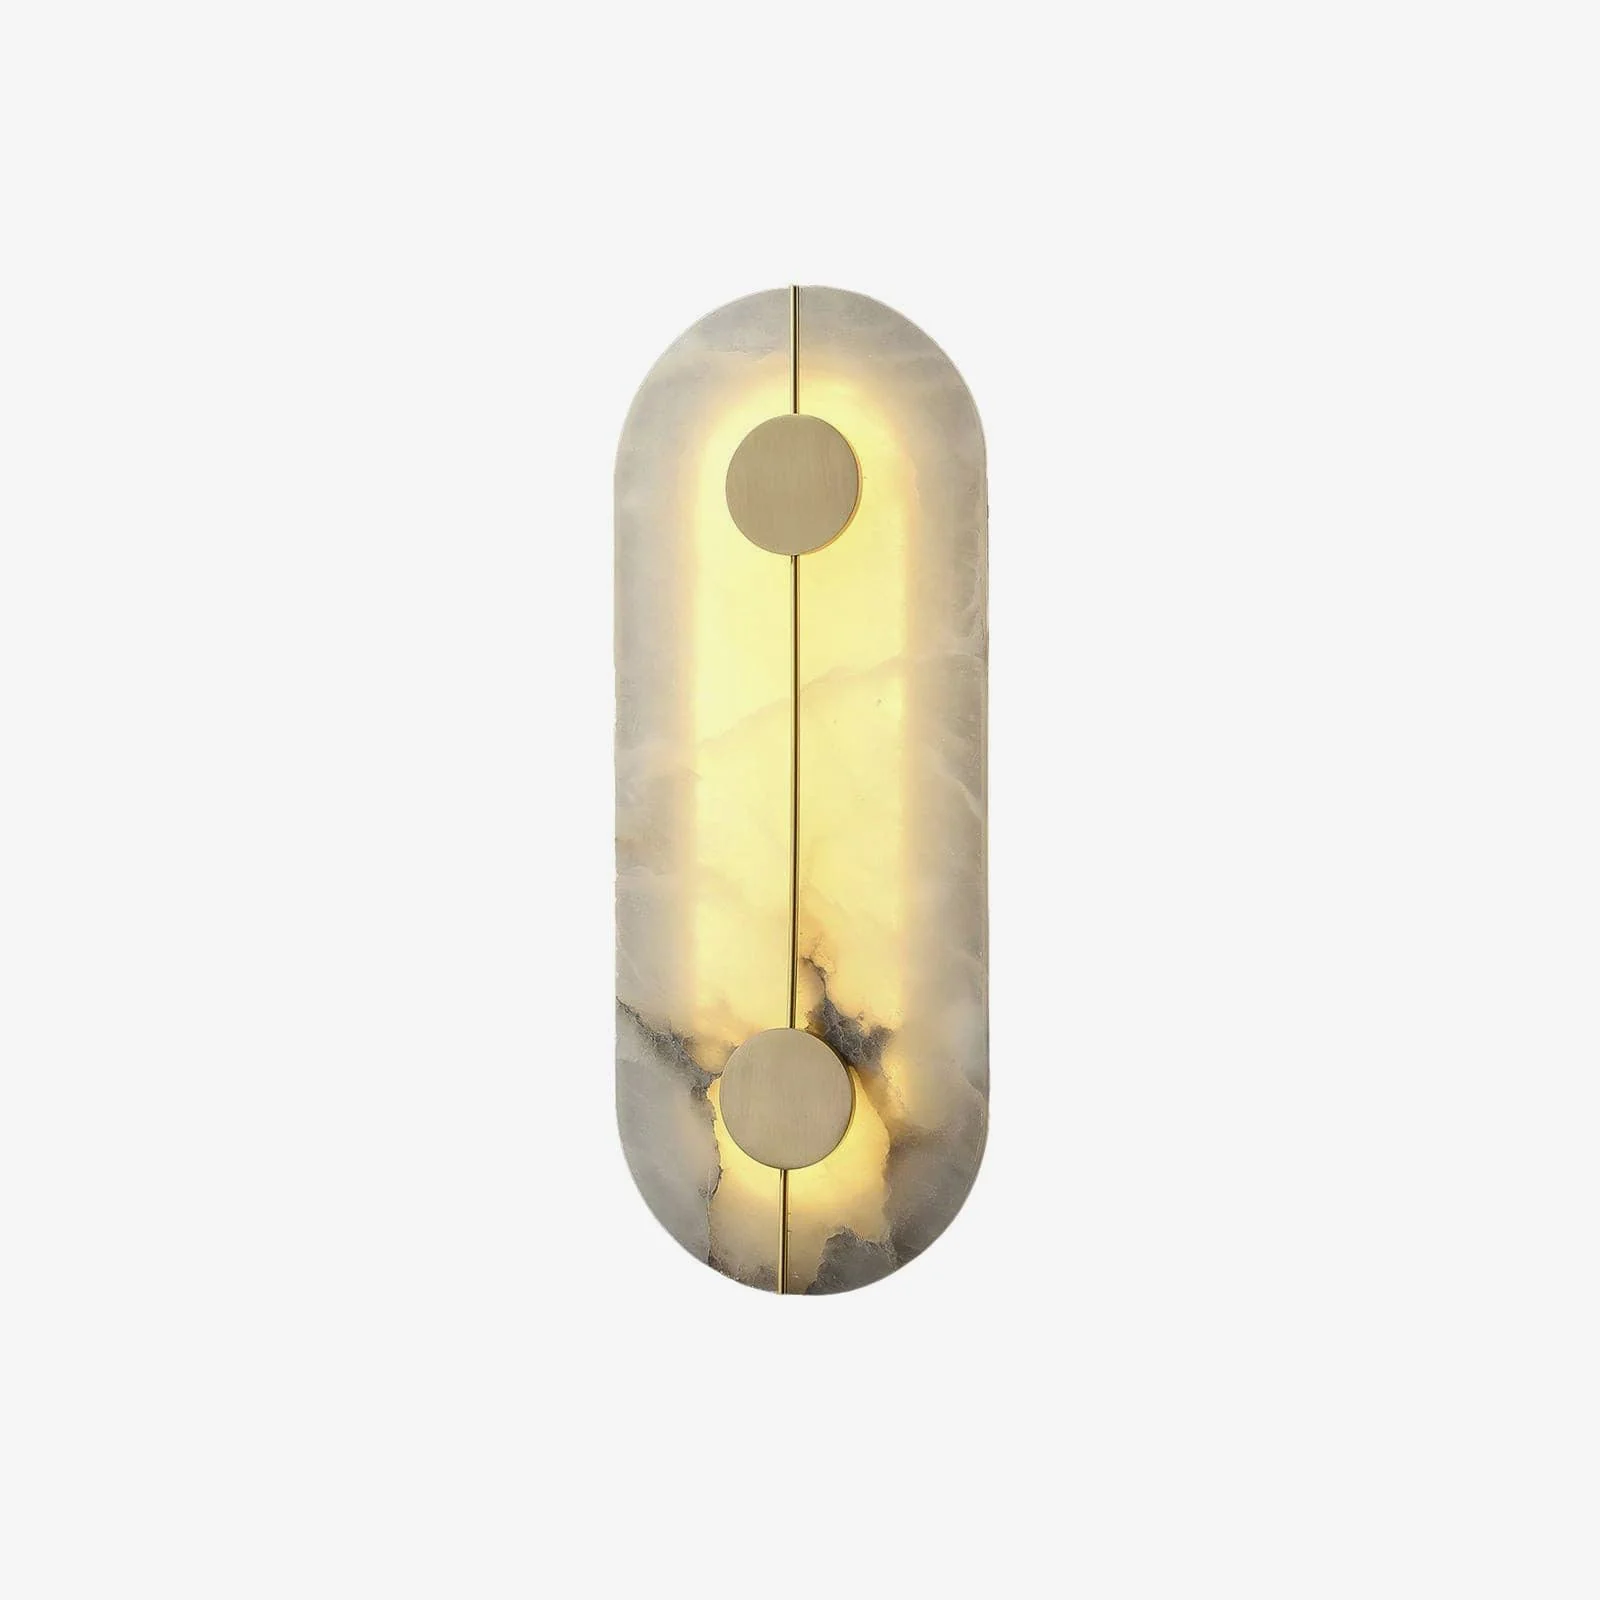
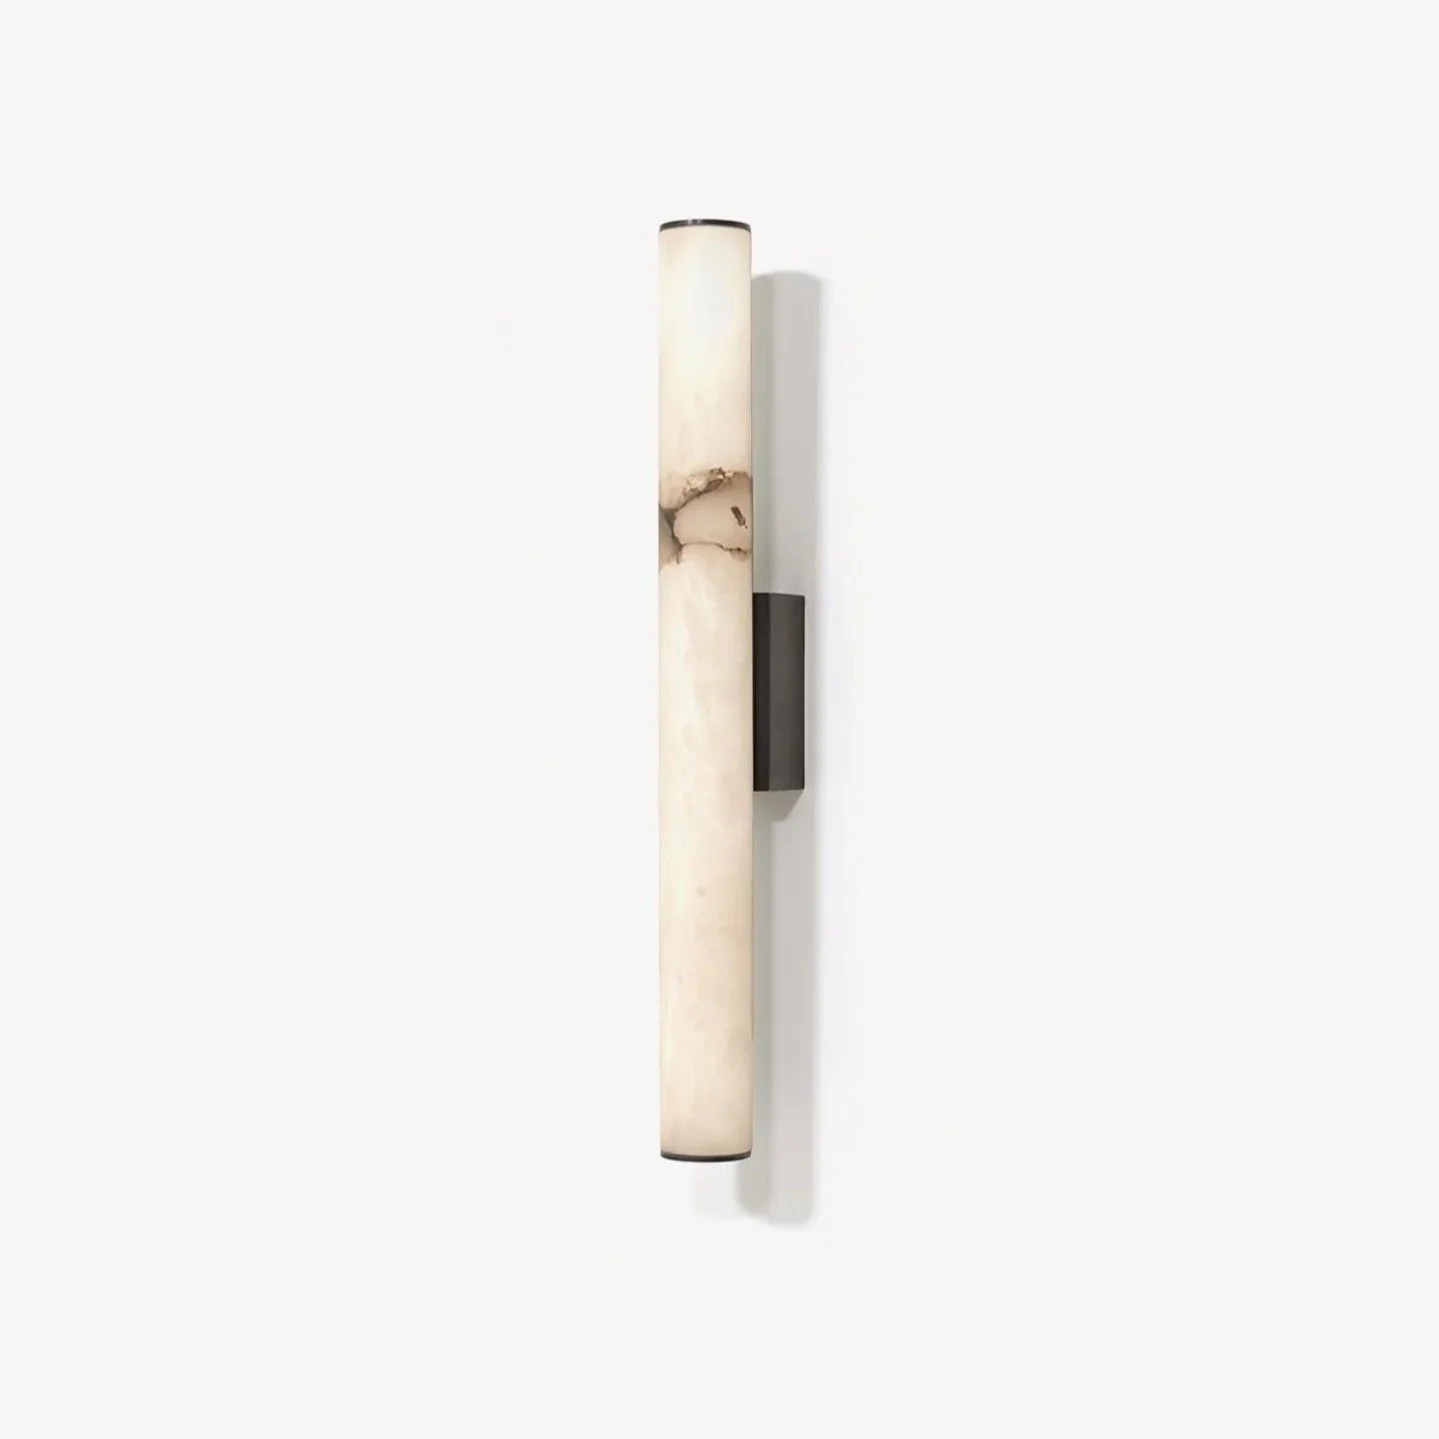
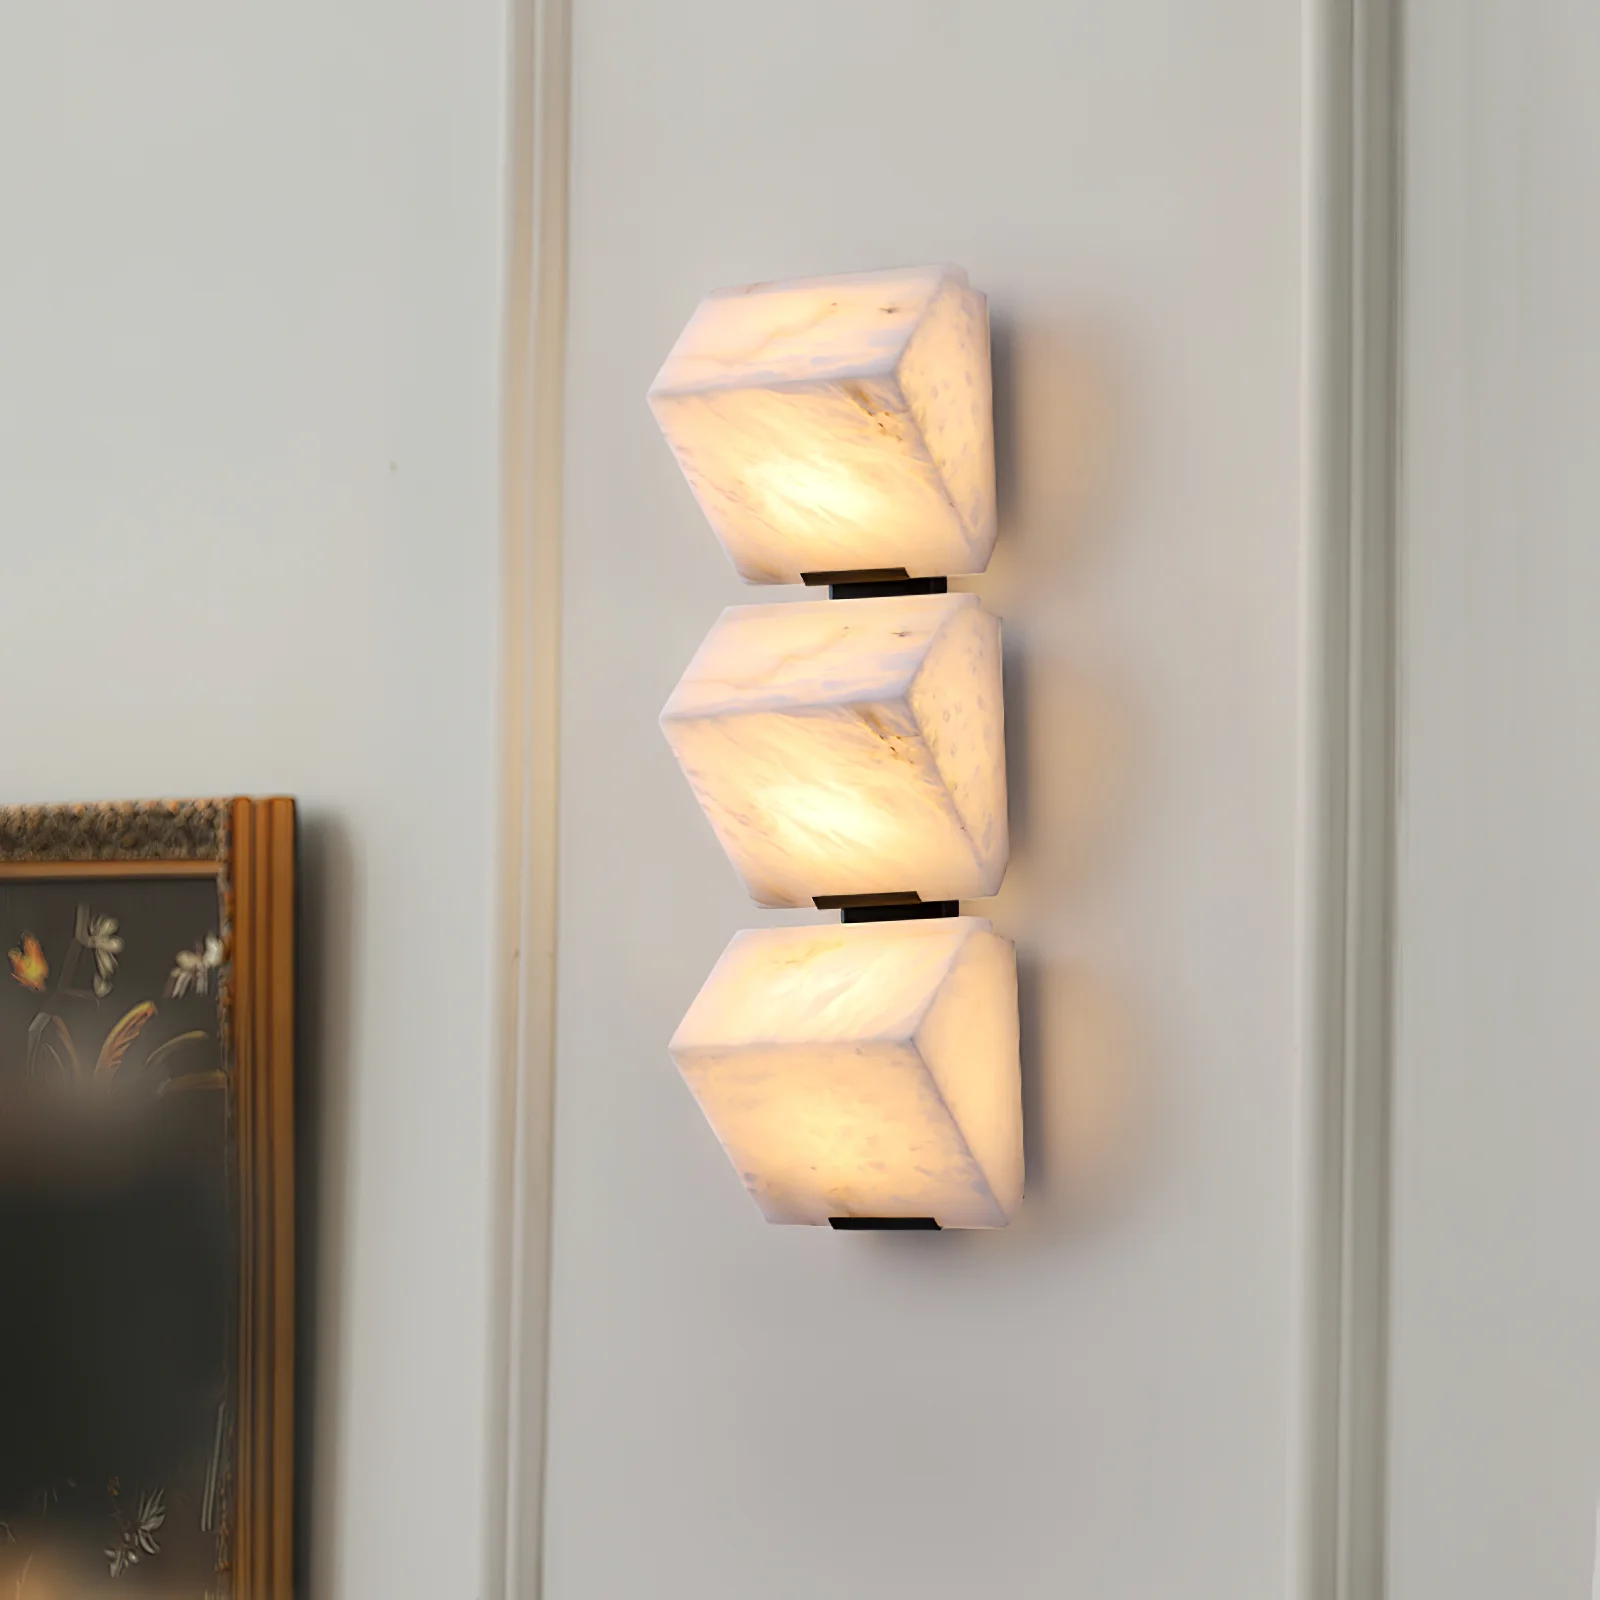
This stylish Laboratory Wall Light provides abundance of uplight, thanks to its precise and symmetrical proportions and wide opening. Featuring smooth lines and luminescence, it consists of three different sized Alabaster cones merged into an eye-catching geometric shape.
PLEASE NOTE: Alabaster patterns vary by product, our product and the pictures shown are different.
If you have any questions about our products, please contact us and we will get back to you within 24 hours.
Product Size
Model A Size: L 22cm x W 13cm x H 30cm / L 8.7″ x W 5.1″ x H 11.8″

Model B Size: L 22cm x W 13cm x H 23cm / L 8.7″ x W 5.1″ x H 9.1″

Model C Size: L 22cm x W 13cm x H 30cm / L 8.7″ x W 5.1″ x H 11.8″

Details
Material: Metal, Alabaster.
Light source: LED bulb or Edison bulb.
Light source base type: G9.
Voltage: AC 110-240V.
Mounting: Wall.
Moisture resistance: IP 20 Damp-rated not waterproof, for indoor use only
Environment: Indoor.
Body Finishes: White.
Wiring: Hardwired.
Control: Compatible with common push switches. (not included).
Certification: Compatible with North America, Saudi Arabia, Europe, Australia Certification
Download Support
 |
 |
 |
| Specifications | Installation Instructions | 3D Files |
Original: $525.00
-70%$525.00
$157.50More Images


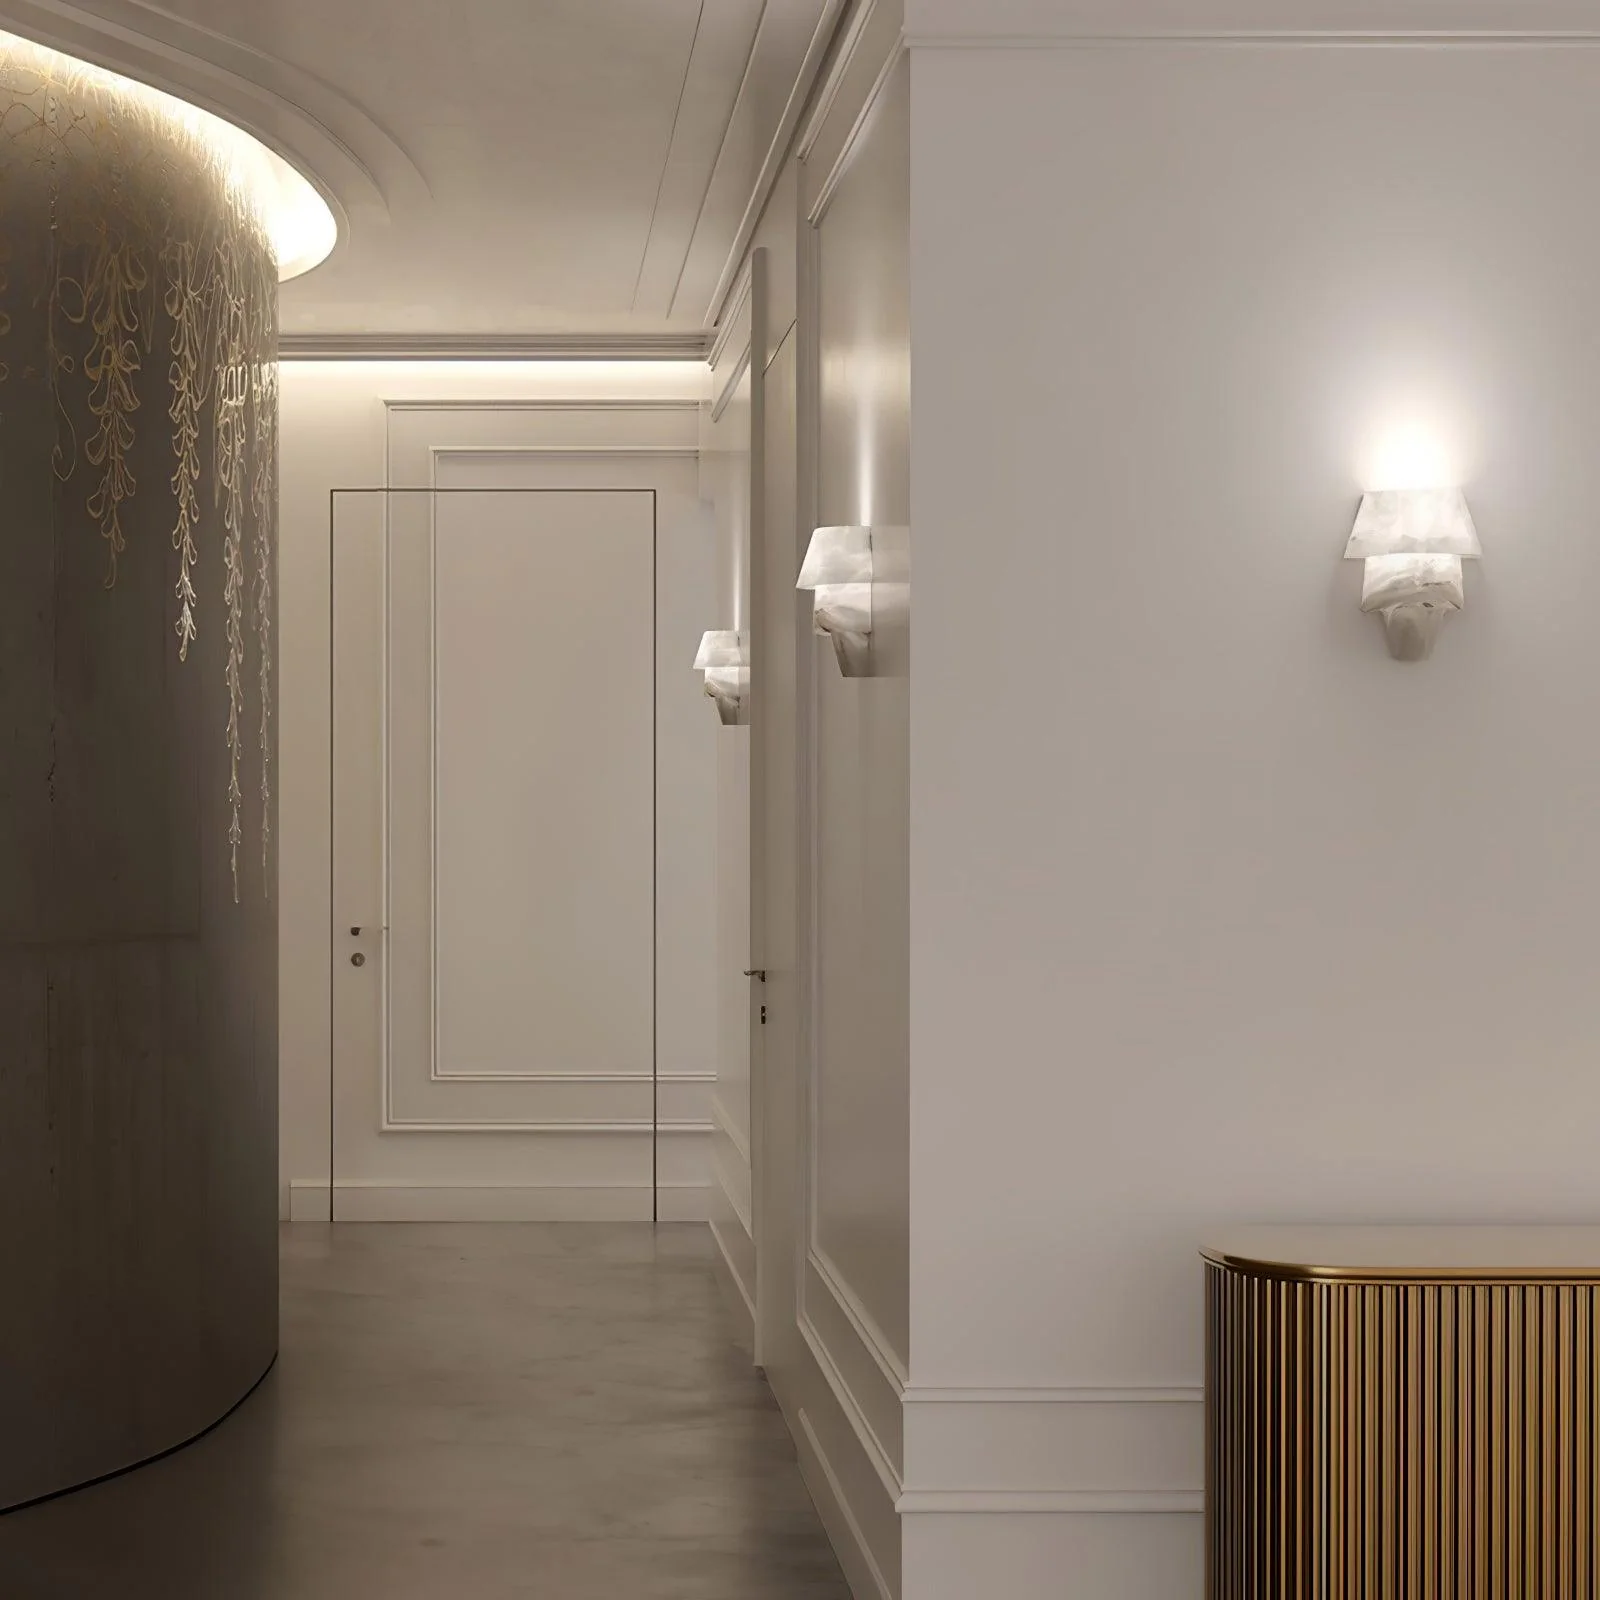


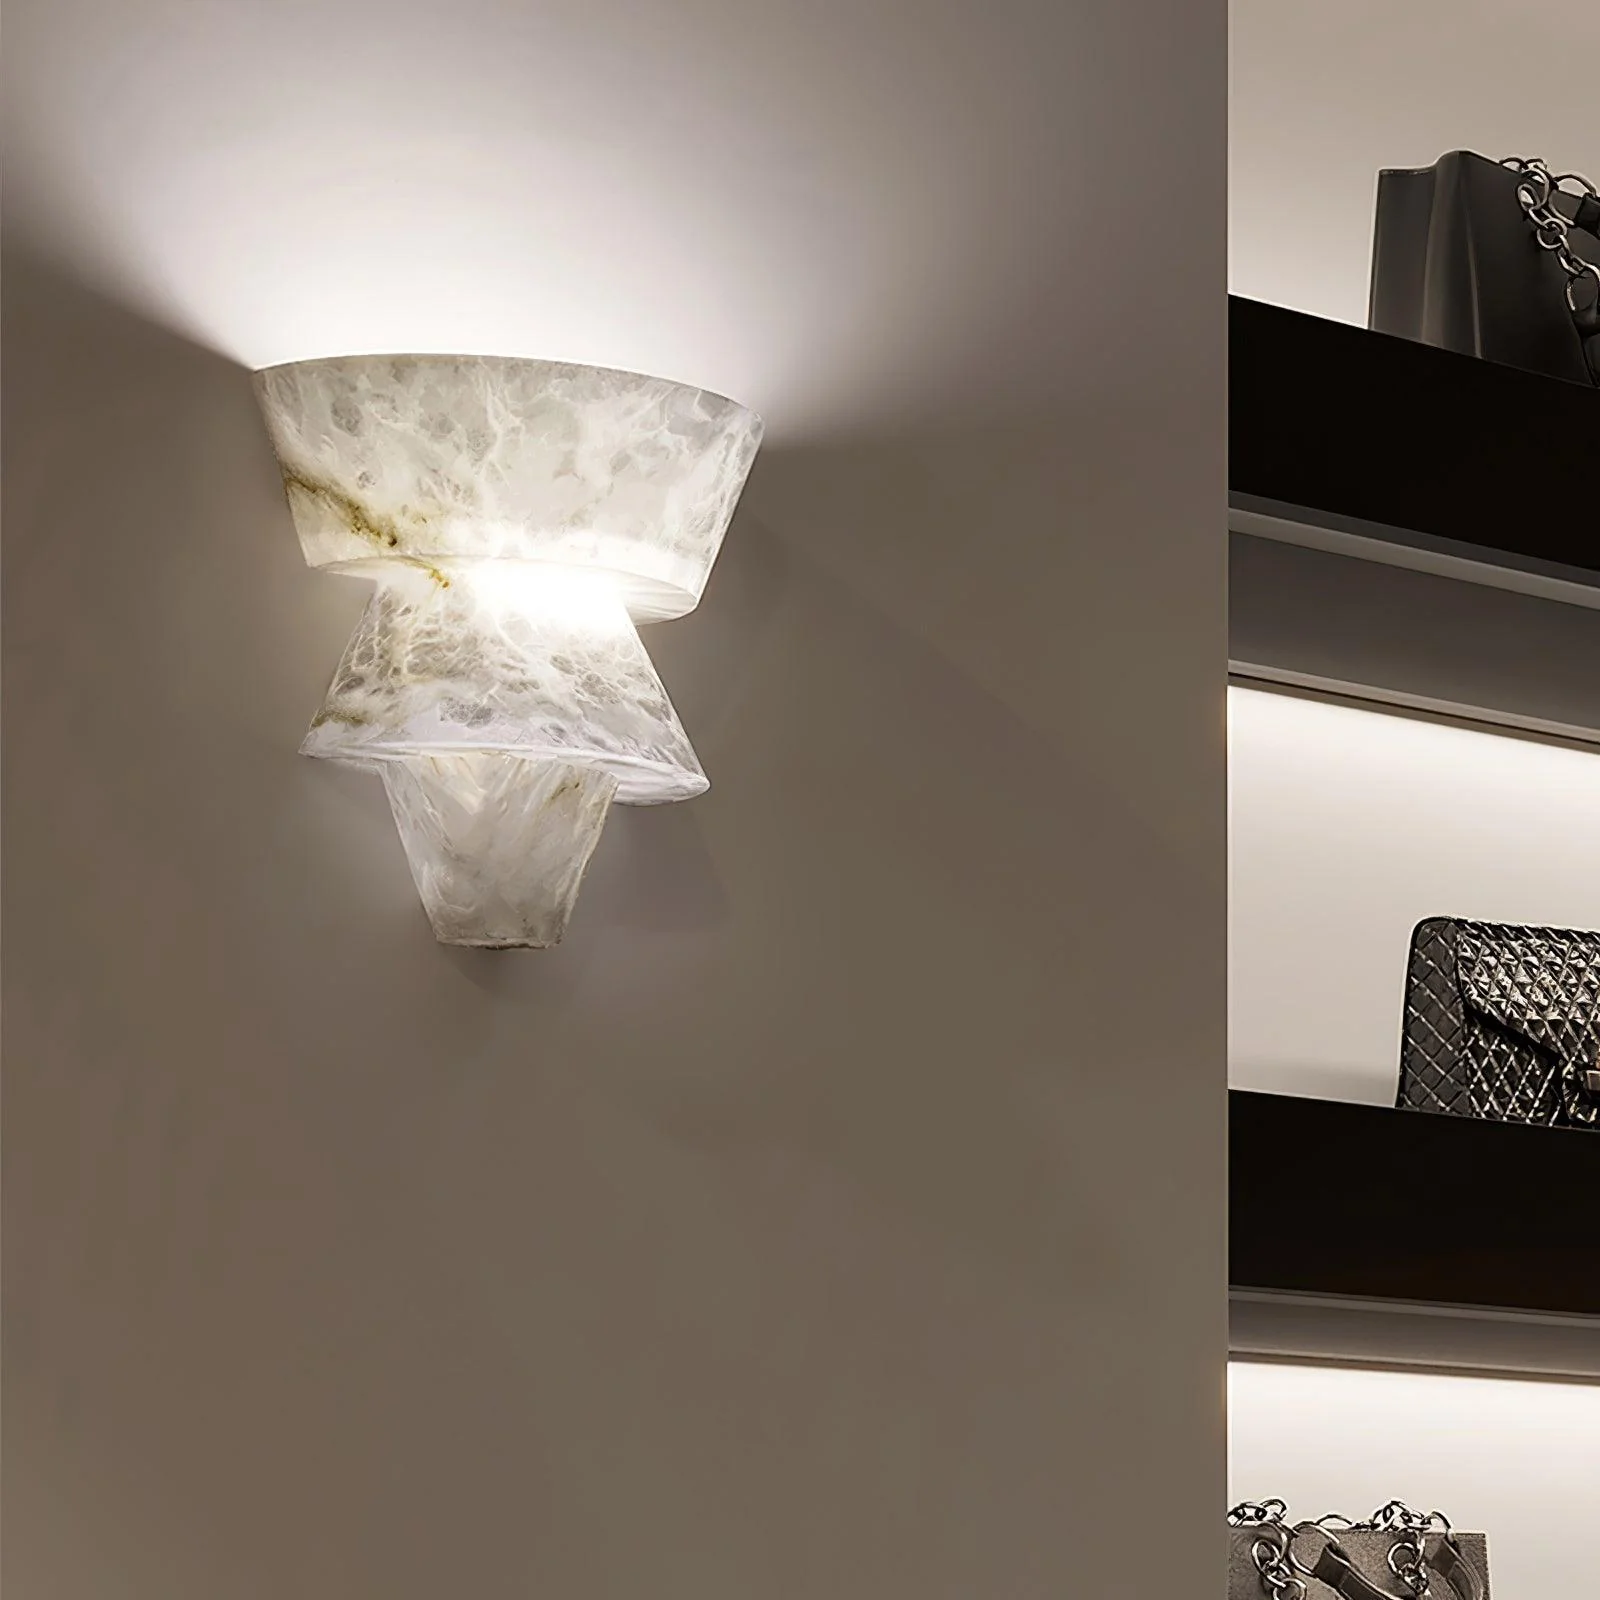


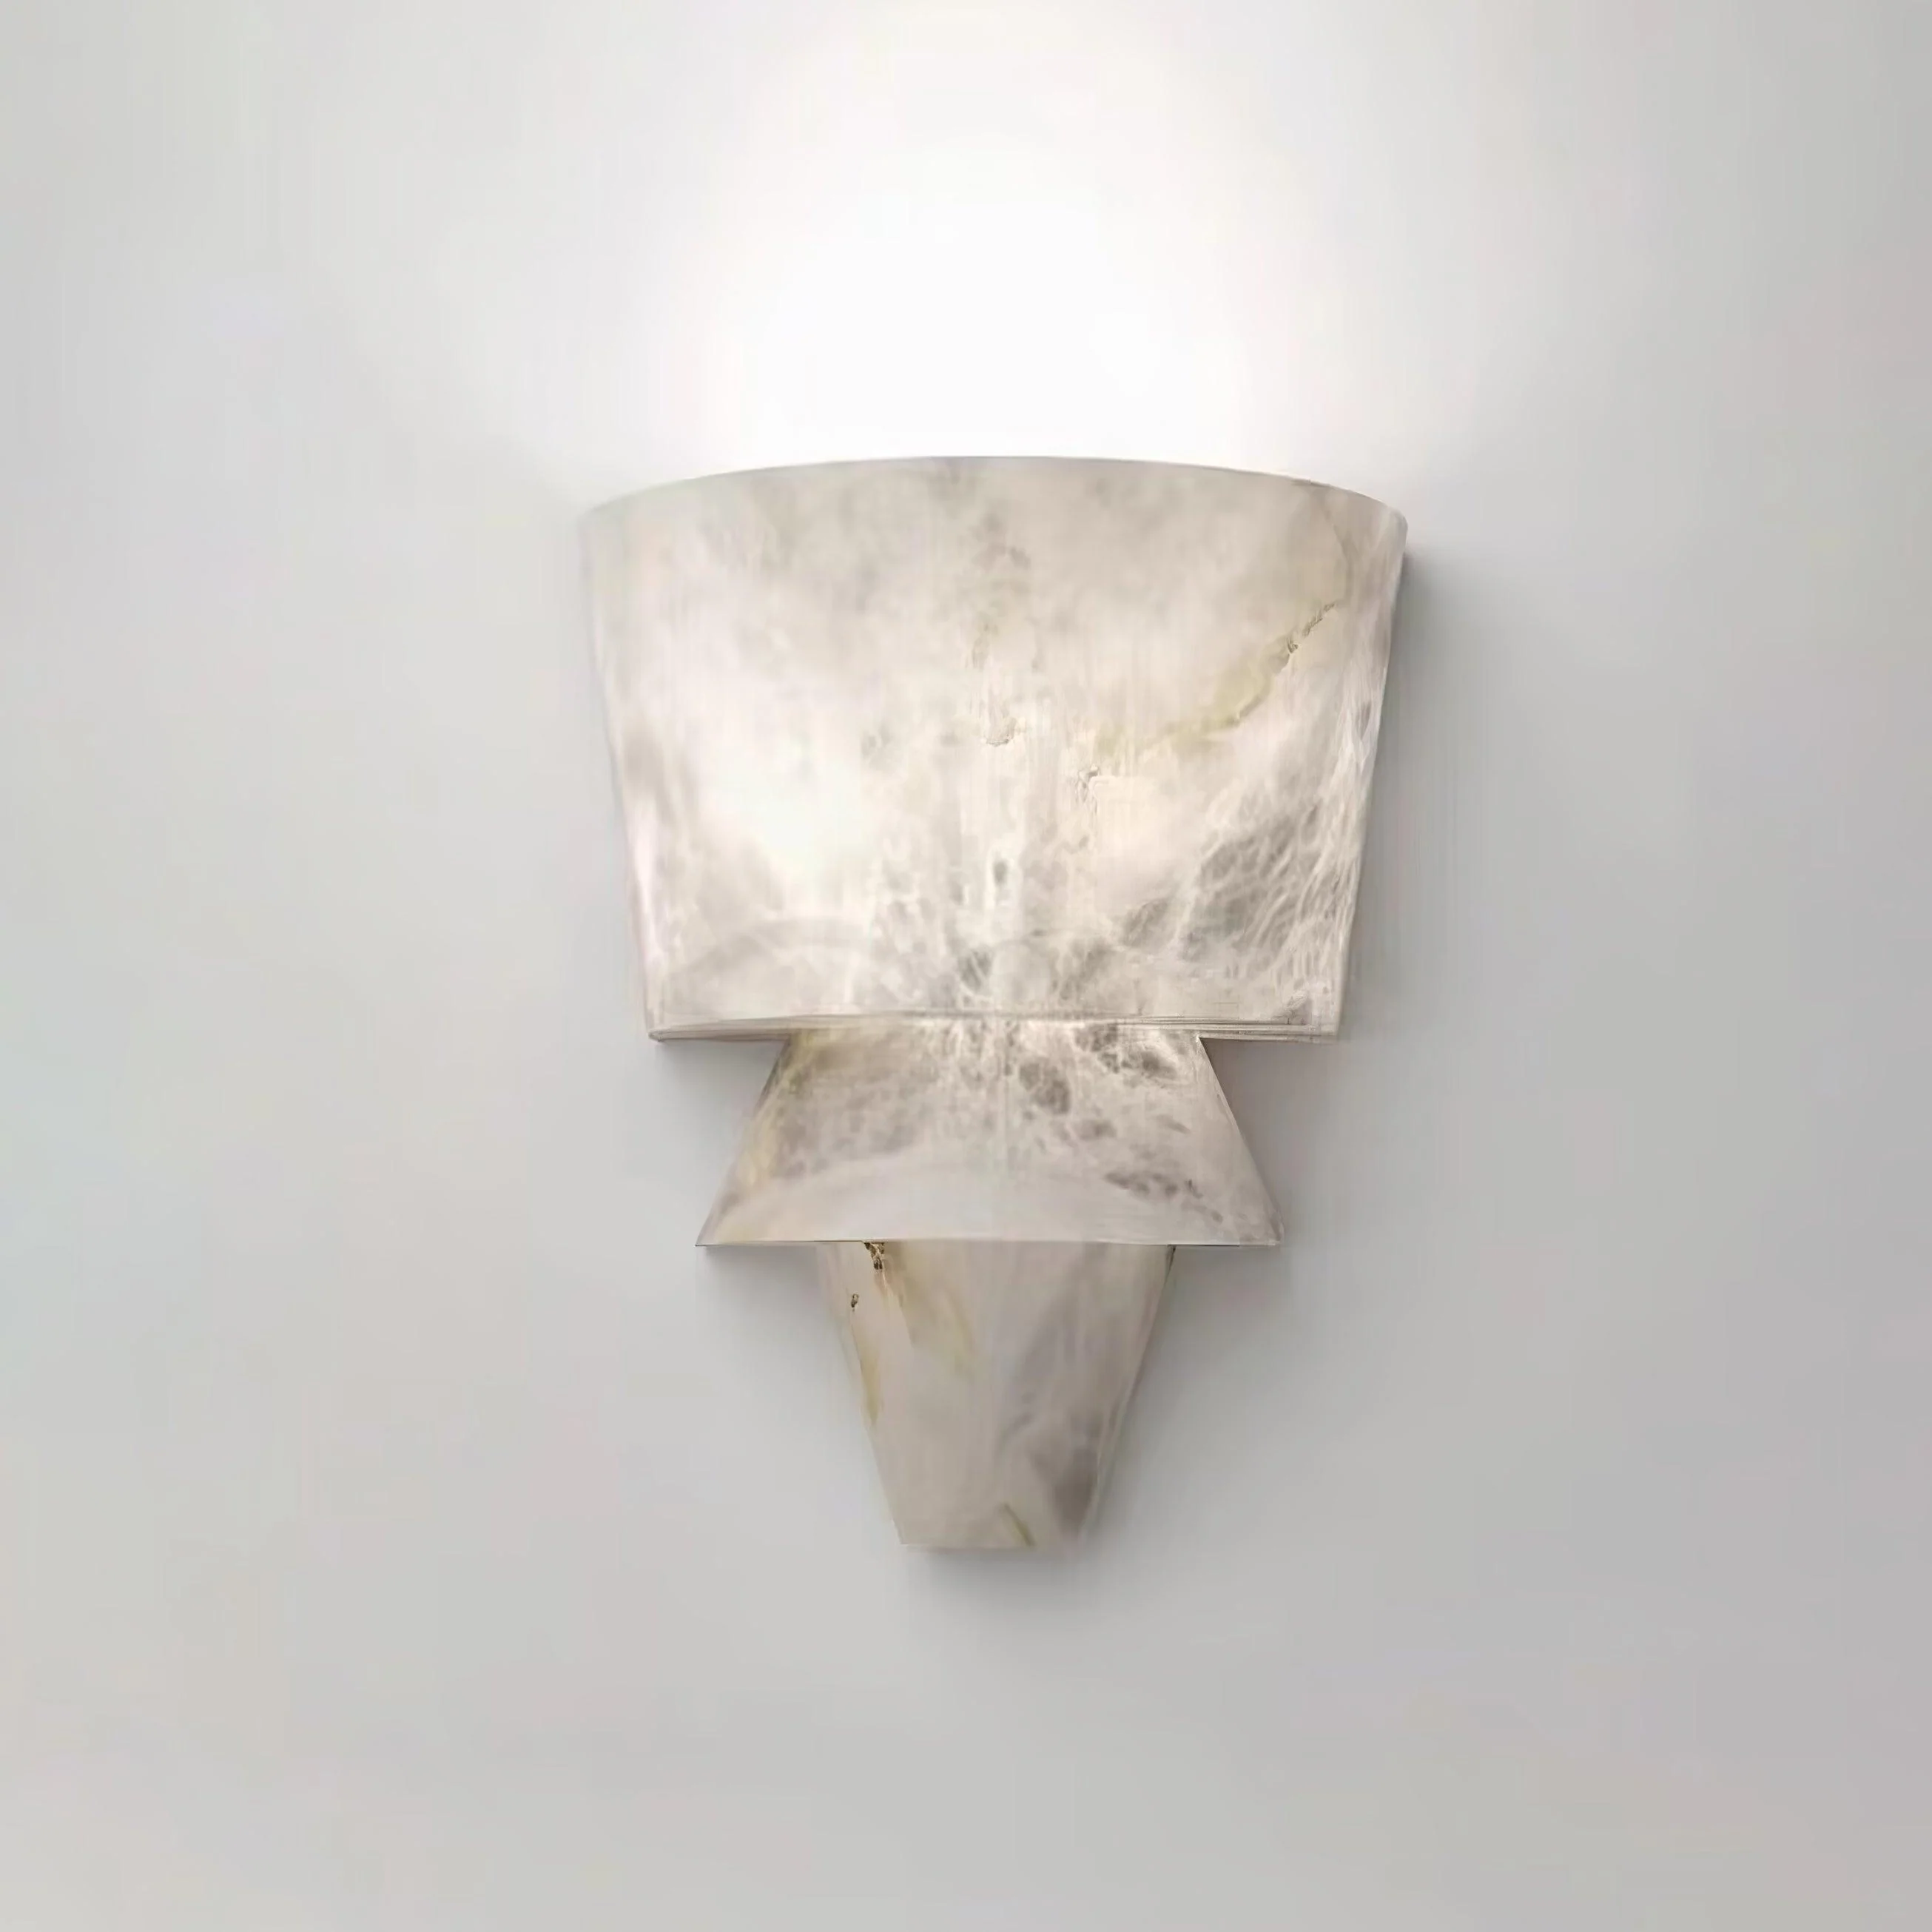


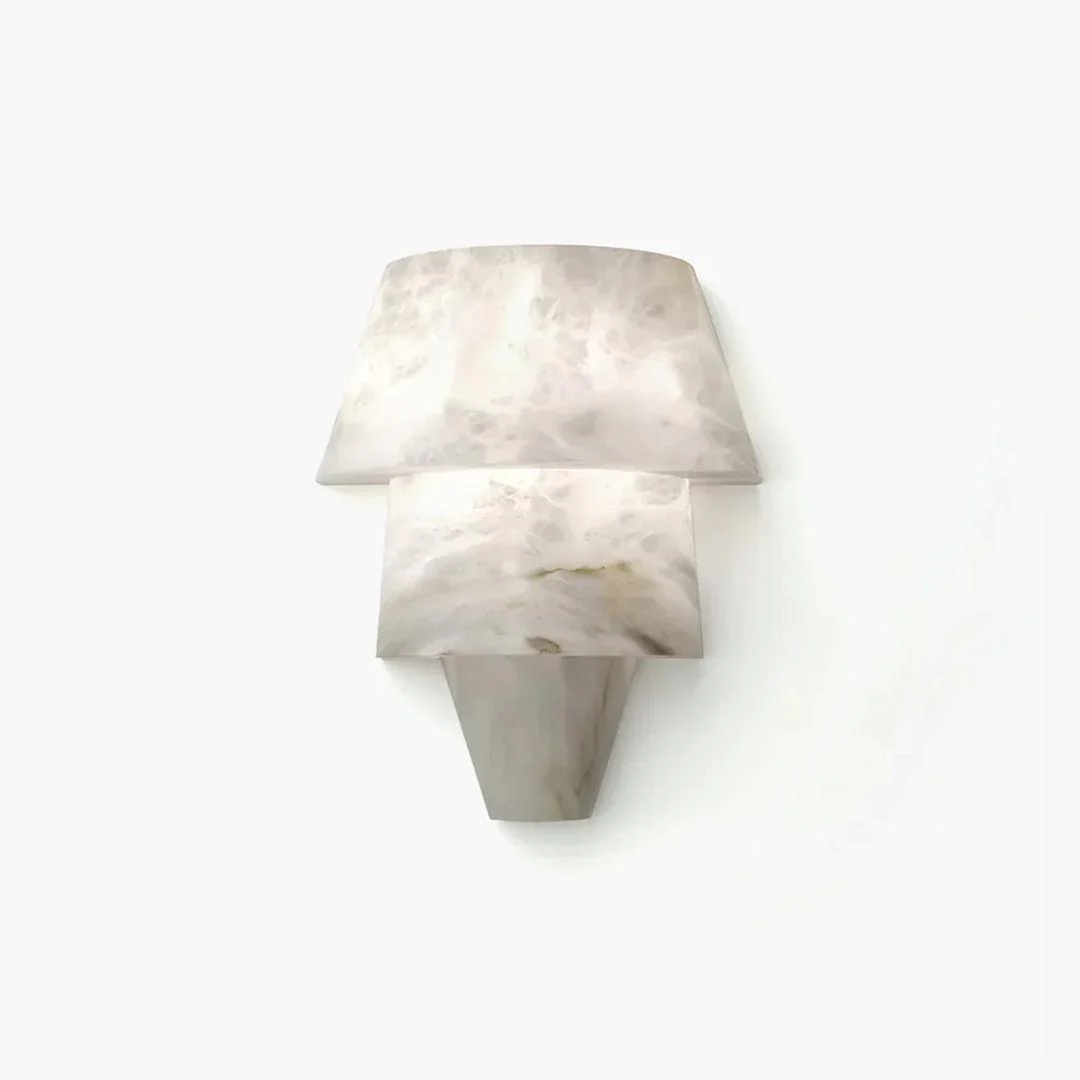


Laboratory Alabaster Wall Light
This stylish Laboratory Wall Light provides abundance of uplight, thanks to its precise and symmetrical proportions and wide opening. Featuring smooth lines and luminescence, it consists of three different sized Alabaster cones merged into an eye-catching geometric shape.
PLEASE NOTE: Alabaster patterns vary by product, our product and the pictures shown are different.
If you have any questions about our products, please contact us and we will get back to you within 24 hours.
Product Size
Model A Size: L 22cm x W 13cm x H 30cm / L 8.7″ x W 5.1″ x H 11.8″
Model B Size: L 22cm x W 13cm x H 23cm / L 8.7″ x W 5.1″ x H 9.1″
Model C Size: L 22cm x W 13cm x H 30cm / L 8.7″ x W 5.1″ x H 11.8″
Details
Material: Metal, Alabaster.
Light source: LED bulb or Edison bulb.
Light source base type: G9.
Voltage: AC 110-240V.
Mounting: Wall.
Moisture resistance: IP 20 Damp-rated not waterproof, for indoor use only
Environment: Indoor.
Body Finishes: White.
Wiring: Hardwired.
Control: Compatible with common push switches. (not included).
Certification: Compatible with North America, Saudi Arabia, Europe, Australia Certification
Download Support
|
|
|
|
| Specifications | Installation Instructions | 3D Files |
Product Information
Product Information
Shipping & Returns
Shipping & Returns
Description
This stylish Laboratory Wall Light provides abundance of uplight, thanks to its precise and symmetrical proportions and wide opening. Featuring smooth lines and luminescence, it consists of three different sized Alabaster cones merged into an eye-catching geometric shape.
PLEASE NOTE: Alabaster patterns vary by product, our product and the pictures shown are different.
If you have any questions about our products, please contact us and we will get back to you within 24 hours.
Product Size
Model A Size: L 22cm x W 13cm x H 30cm / L 8.7″ x W 5.1″ x H 11.8″
Model B Size: L 22cm x W 13cm x H 23cm / L 8.7″ x W 5.1″ x H 9.1″
Model C Size: L 22cm x W 13cm x H 30cm / L 8.7″ x W 5.1″ x H 11.8″
Details
Material: Metal, Alabaster.
Light source: LED bulb or Edison bulb.
Light source base type: G9.
Voltage: AC 110-240V.
Mounting: Wall.
Moisture resistance: IP 20 Damp-rated not waterproof, for indoor use only
Environment: Indoor.
Body Finishes: White.
Wiring: Hardwired.
Control: Compatible with common push switches. (not included).
Certification: Compatible with North America, Saudi Arabia, Europe, Australia Certification
Download Support
|
|
|
|
| Specifications | Installation Instructions | 3D Files |